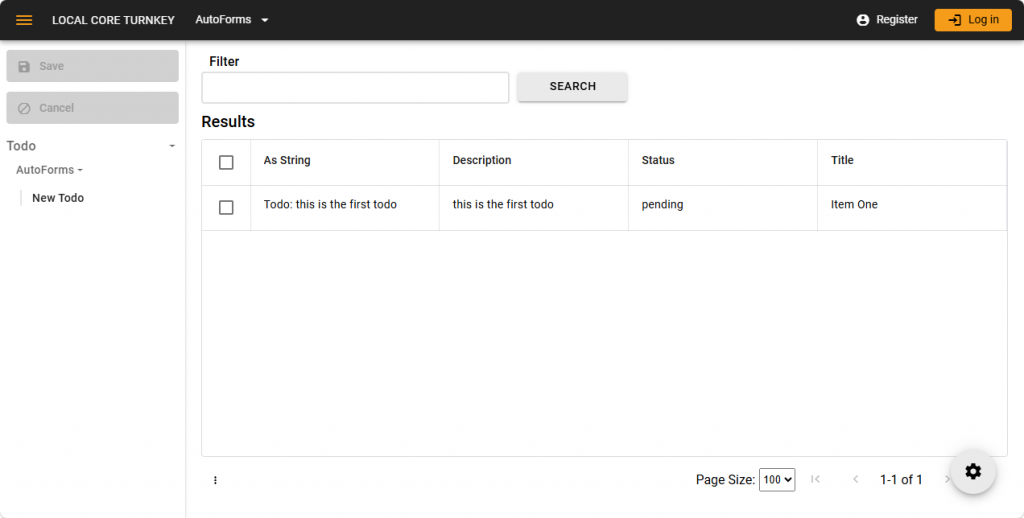
In this guide, you will build a simple to-do list application in MDriven for creating, managing, and updating everyday tasks. Using MDriven’s model-driven approach, you can go from a blank canvas to a working application in just three straightforward steps:
- Modeling the Data – Create a
Todoclass and define the core attributes:Title,Description, andStatus. - Generating the User Interface Automatically – Instead of building screens from scratch, you will use MDriven’s built-in AutoForms feature to generate the screens automatically. This means you will not design them manually.
- Launching the Application – Finally, you will save our work and run the app to see your fully functional to-do list in action!
Step 1: Create the To-Do Model
The first step is to define the structure of your application by creating the model.
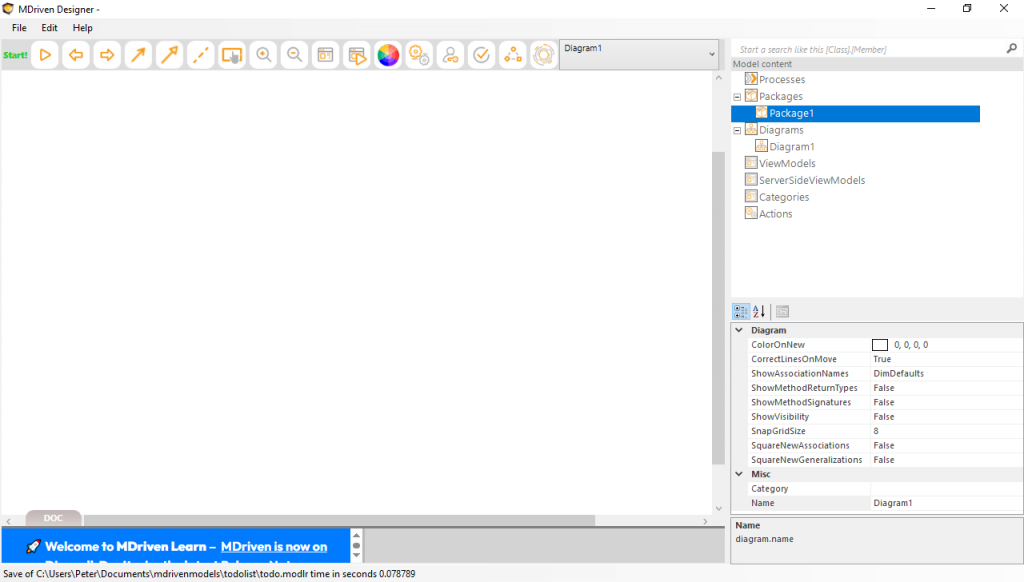
1. Open your MDriven workspace. You will start with a clean slate in the diagram editor, as shown below.
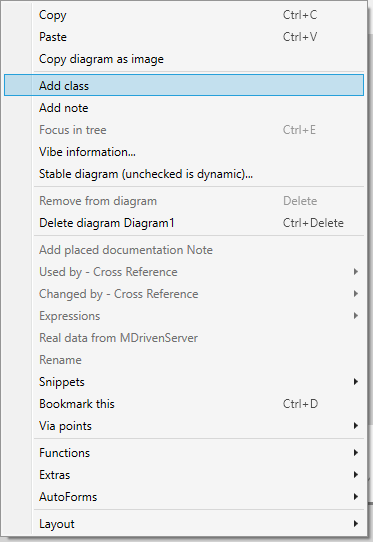
2. Right-click anywhere on the blank diagram background to open the context menu, then click Add class.
3. Name your new class Todo.
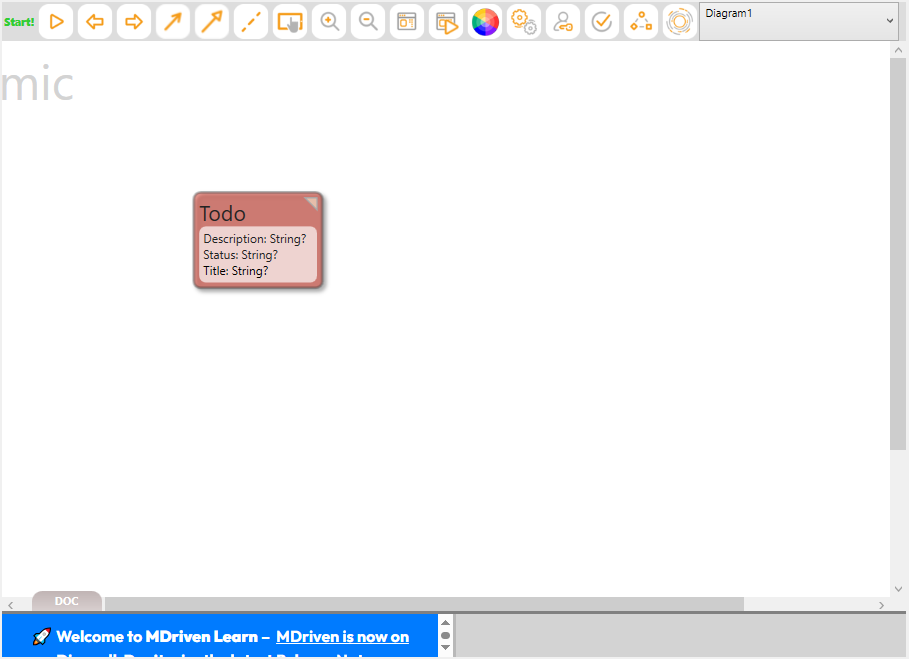
4. Inside the Todo class, add three attributes to hold your task data:
Title(String)Description(String)Status(String)
Once completed, your model diagram will display the structural definition of your data, exactly like the one captured in the image below.
Step 2: Generate the User Interface with AutoForms
The next step is to create the user interface using AutoForms. MDriven can instantly build functional screens based entirely on the class structure you just created.
- Right-click on your diagram area once again to open the context menu.
- Hover over AutoForms and click Create/Refresh AutoForms (as shown below).
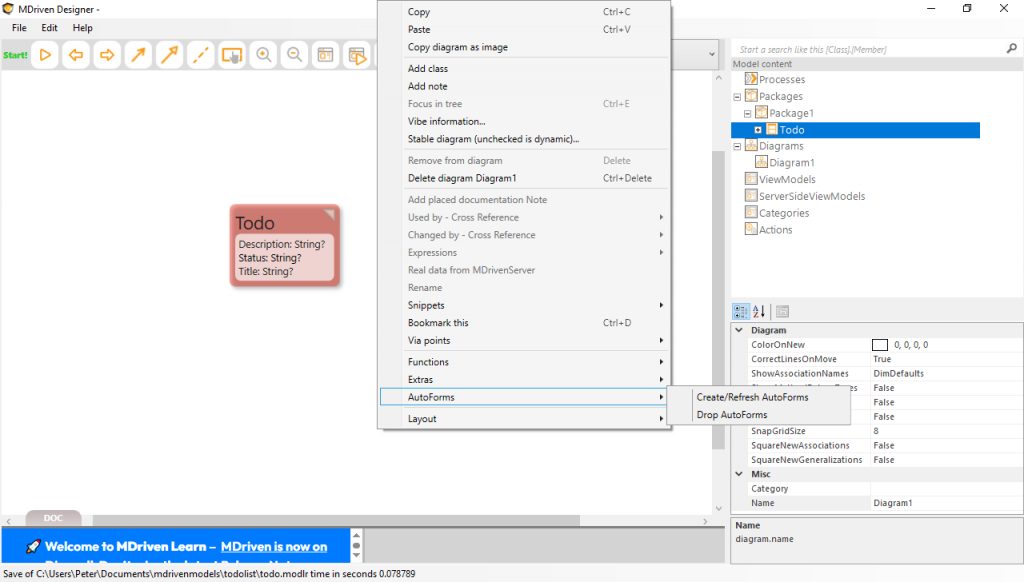
Note: MDriven automatically analyzes your
Todoclass and instantly generates all the necessary view-models, grids, and edit forms needed to create, view, and update your tasks.
Step 3: Save and Run the Application
Now that your data structure and user interface are ready, it is time to test your creation.
- Save your progress by navigating to File > Save (or using
Ctrl + S). - Run the application by clicking the green Start! play button located in the top-left corner of the Designer interface.
MDriven will launch a local prototyping environment where you can start using your application right away.
At this point, you should be able to:
- Add new tasks
- Write descriptions
- Update task status
- View your to-do list in a working interface
That means you have successfully created a simple to-do list application in MDriven using only a small model and automatically generated UI.